Type in your userid and password. My userid is byungleeusa.0catch.com, not byungleeusa. .
Click on "Login."

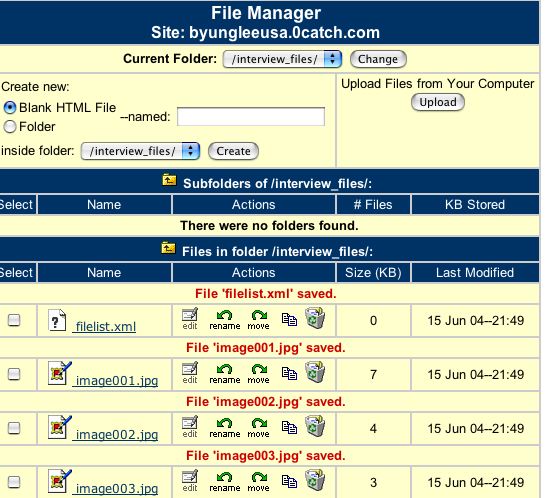
4) You will see the following "File Manager" window.
If you want to know about what each button, blank space and other word means, click here
Otherwise, go to the next step.
5) Let's start.
First, you need to upload "interview.html" under the "/" (which is called "root") folder,which corresponds to the "website" folder on your local computer.
6) Click"Upload" under "Upload Files from Your Computer."
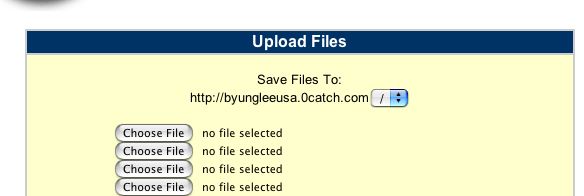
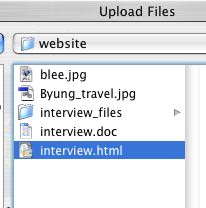
8) You will be prompted for a file to be uploaded. Select "interview.html" and click "Choose."
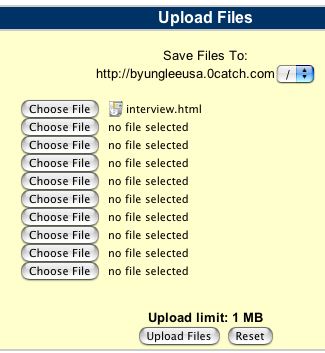
9) You will notice that "interview.html" is lined up to be uploaded.
To upload it, click "Upload Files."
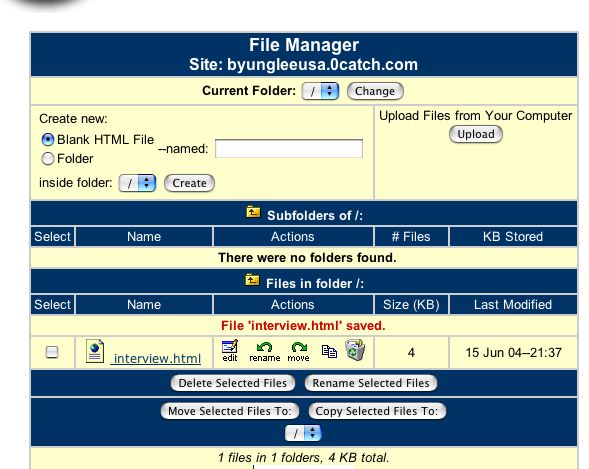
10) When you see the original menu again, you will notice some changes.
If you want to know what the changes mean, click here. Otherwise, go to the next step.
11) Now you need to upload the "interview_files" folder and all the four files inside the folder.
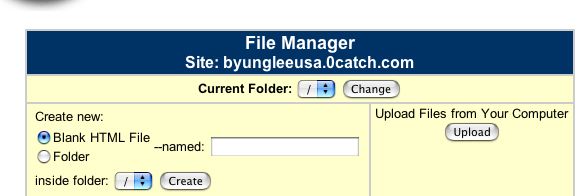
11-a) You cannot UPLOAD the folder -- here the "interview_files" folder.(You can imagine a folder as an empty box that contains file or files). Instead, you are allowed to CREATE a folder.
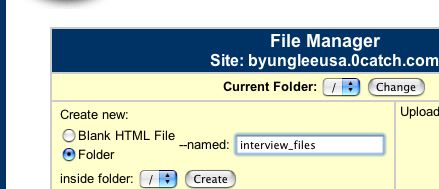
To create a folder, Select the "Folder" radio button under "Create new:"

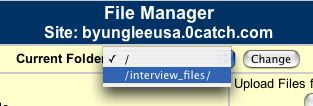
11-c) Now you need to switch the current folder (or the working folder) from "/" to "interview_files"
To do this, click the pulldown menu next to Current Folder and choose /interview_files/
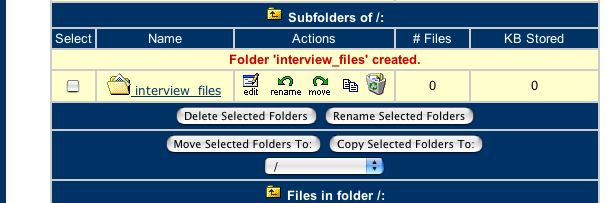
"interview_files" is now a current working folder, and there is no folder or file under it at this point on the 0catch site.
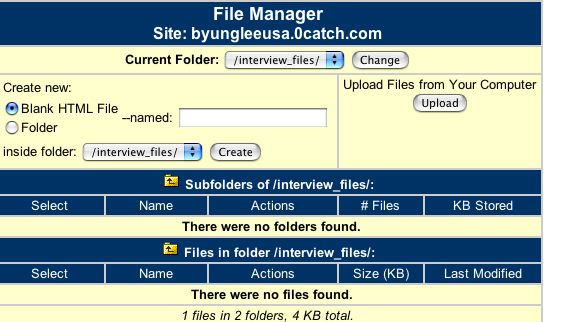
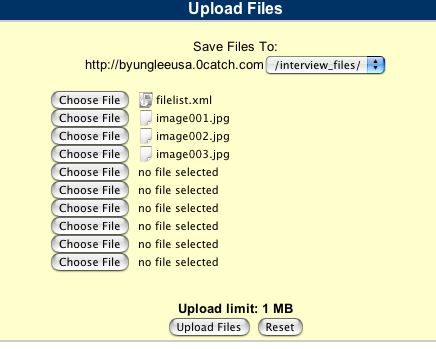
11-d) Now you need to upload all the files under the "interview_files" folder on your local computer to the server.
Click the "Upload" button under "Upload Files from Your Computer."
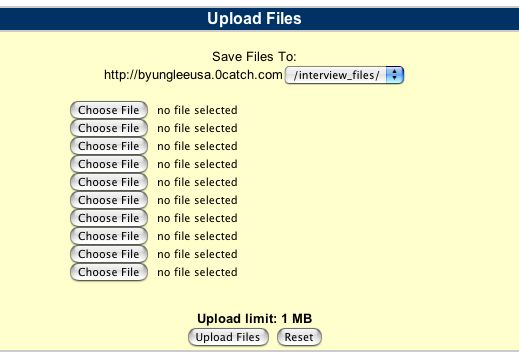
You will be prompted for a file (a document).
Select the first file in the "interview_files" folder.
Click "Choose" at the bottom.

You will see the file lined up for uploading, as shown on the right.
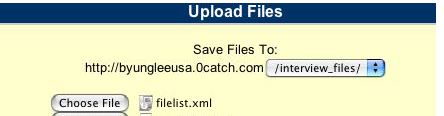
Follow the same procedure to select the remaining files under the "interview_files" folder.